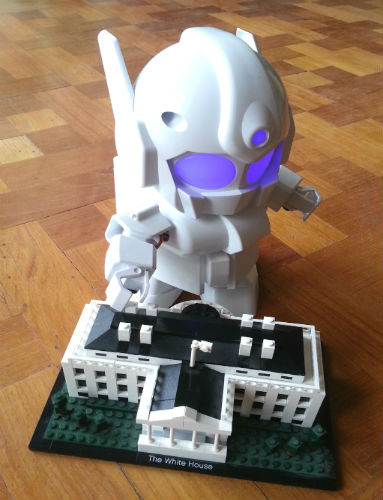
Rapiro is a humanoid robot that I helped fund on Kickstarter. It arrived with a hefty £70 customs bill (don’t worry, I will get my own back when I make the 12 foot high version of this device in the near future and point it at HMRC [btw in case anyone sees this as a threat, this is a joke]) 10 days ago, and I put the kit together in an evening. The instructions for putting it together consist mainly of photo closeups, and the whole thing was relatively straightforward. Two tips though – 1) make sure you have some decent precision screwdrivers, 2) ensure that you either have decent batteries or a suitable mains power supply. At an early stage of assembly, you are required to initialise the motors – my underfunctioning batteries caused the motors to make a noise but not move tricking me into thinking that I had done this. Later on when it became apparent that this was not the case, I had to dismantle various bits to adjust the limbs.
Like other early adopters, having completed the construction I was unsure of what to do next. There is the possibility of connecting up the Raspberry Pi but I was keen to see it in action before adding this complication (well for me anyway – and probably for most) so how to proceed? A search of Google proved inconclusive but this blog was quite useful. But you might find the following details a little bit more enlightening particularly if, like me, you haven’t played around with Arduinos before.
There are 3 steps – getting a program (Arduino IDE) that allows the Rapiro board to chat with your computer, adding the test program (called a sketch) and uploading it to the board, then trying out some commands. If all goes well, you should start to see Rapiro dancing around.
1) Getting the Arduino program – everything you need is at arduino.cc and for me, on the download page, I downloaded a suitable IDE. In my case it was Arduino v1.5.5 Beta (I like to live dangerously). Installed and got running without incident.
2) Adding the sketch – you will get it from here and download as RAPIRO_ver0_0.ino after which you can upload it to the IDE using File->Open – you will then see the code open in a window. To upload the sketch to the board, click on the second icon (a right arrow in a circle). Mention was made in various documents that if you are running on Windows you might have trouble with the comms connection. I was lucky and it worked first time but it seems that a problem may occur when trying to get a USB port to act as a traditional serial comms port. Mine seemed to like being Com 3. When the program has uploaded you will hear some motor movement as Rapiro initialises. If he (she?) is not aligned properly, you can experiment by making changes to the array trim[MAXSN].
3) While loading the problem worked ok, sending commands was minorly tricky. Clicking Tools->Serial Monitor opens up a new window. You can send from the top text box and see replies in the bigger box below. I had to manually set the baud rate (lower right hand drop down box manually to 57600 baud). The commands #M0 through to #M9 (literally type in the 3 characters # M plus a number) to see different preprogrammed movements – but a word of warning #M1 is to walk forward so you might want make sure Rapiro is not about to plunge off your desk otherwise all your hard efforts may be in vain.
Checking through the program, I realised that you can colour the eyes and control each motor individually (I’ve not seen this elsewhere) which will allow play around with individual movements and check that your build is ok. #PR000G100T010 will turn on the Green component of the LEDs to a mid brightness (values between 0 and 255) (T is the time component to get to desired colour) and you won’t be surprised that replacing G with B or R do the other colours (by using all 3 parts you can get any colour you want. #PR000G100B000T010 would adjust all 3 colours in one go.
Now for moving the limbs. Here is a sequence for moving the right shoulder:
#PS02A010T010
where the #P specifies an individual motor command, S02 refers to one of the 12 motors (from S00 to S11), A000 up to A180 is where the motor moves to, and Txxx is the time to perform the movement. I can’t be more specific here, because in the process of playing around with these, there was a smell of burning and Rapiro died. So my final advice to you is be careful when playing with this.
#PS00A000T010#PS00A180T010 – full head movement from side to side
#PS01A000T010#PS01A180T010 – Waist
#PS02A000T010#PS01A180T010 – r Shoulder
#PS03A000T010#PS03A180T010 – r Arm
#PS04A000T010#PS04A180T010 – r HAND
#PS05A000T010#PS05A180T010 – l Shoulder
#PS06A000T010#PS06A180T010 – l Arm
#PS07A000T010#PS07A180T010 – l hand
#PS08A000T010#PS08A180T010 – r Foot yaw
#PS09A000T010#PS09A180T010 – r Foot pitch
#PS10A000T010#PS10A180T010 – l Foot yaw
#PS11A000T010#PS11A180T010 – l Foot pitch
Great! I also tried to figure out how to separately control the servos. But understanding the sample sketch was quite mind-boggling for me 🙂 Your findings helped me a lot.
Maybe you should also mention that for controlling the colour of the eyes the line should read something like #PR000G100B000T010. Just typing #PG100 didn’t work.
Glad it helped – and yes you are right about the eye colour commands – I will edit!
I followed all your instructions they were very useful in setting Rapiro up in the initial stages. I even had Raspberry Pi running well.
However I feel your loss as I plugged in an adapter which should have been fine as it was AC 12v 4.2A but then I to smelt the passing of Rapiro. Hopefully we are not alone and a replacement motherboard can be purchased.
My thinking is that it is the mosfet TR2 that has failed. The designer says it is NVF6P02T3G Pch MOSFET(ON Semiconductor). I can buy them for under dollar from Mouser Electronics but they would add a $20 delivery charge!
You can get a board only now for $60 from here